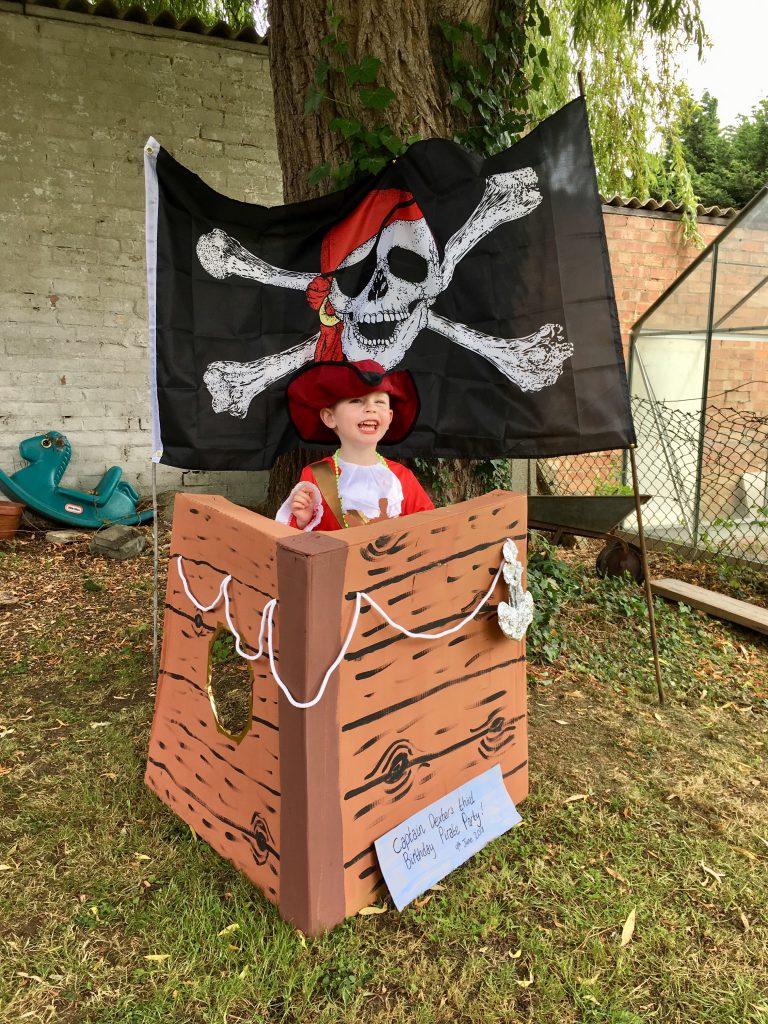
If you read my recent essay post on the pirate party that we threw for Baby Lighty’s third birthday party, you’ll know that we made a lot of the decor and favours ourselves. I thought that I’d run through a few of the pirate party crafts here, in case they are of use to your own pirate themed party. We took a LOT of inspiration from Pinterest, and so if you want to see where we got our inspiration from, some more pirate themed crafts, or variations on the below, take a look at our pirate party Pinterest board.
The great thing about a third birthday party, I found, is that Baby Lighty could really get stuck into helping me with the pirate party crafts this year. Here’s what the two of us got up to:
Pirate Telescopes
One of the easiest pirate party crafts, and one of our party favours, we gave the telescopes out on our welcome table on arrival. These were so simple, and literally made of the cardboard roll from kitchen roll, painted brown, and with gold washi tape wrapped once round the top and bottom!
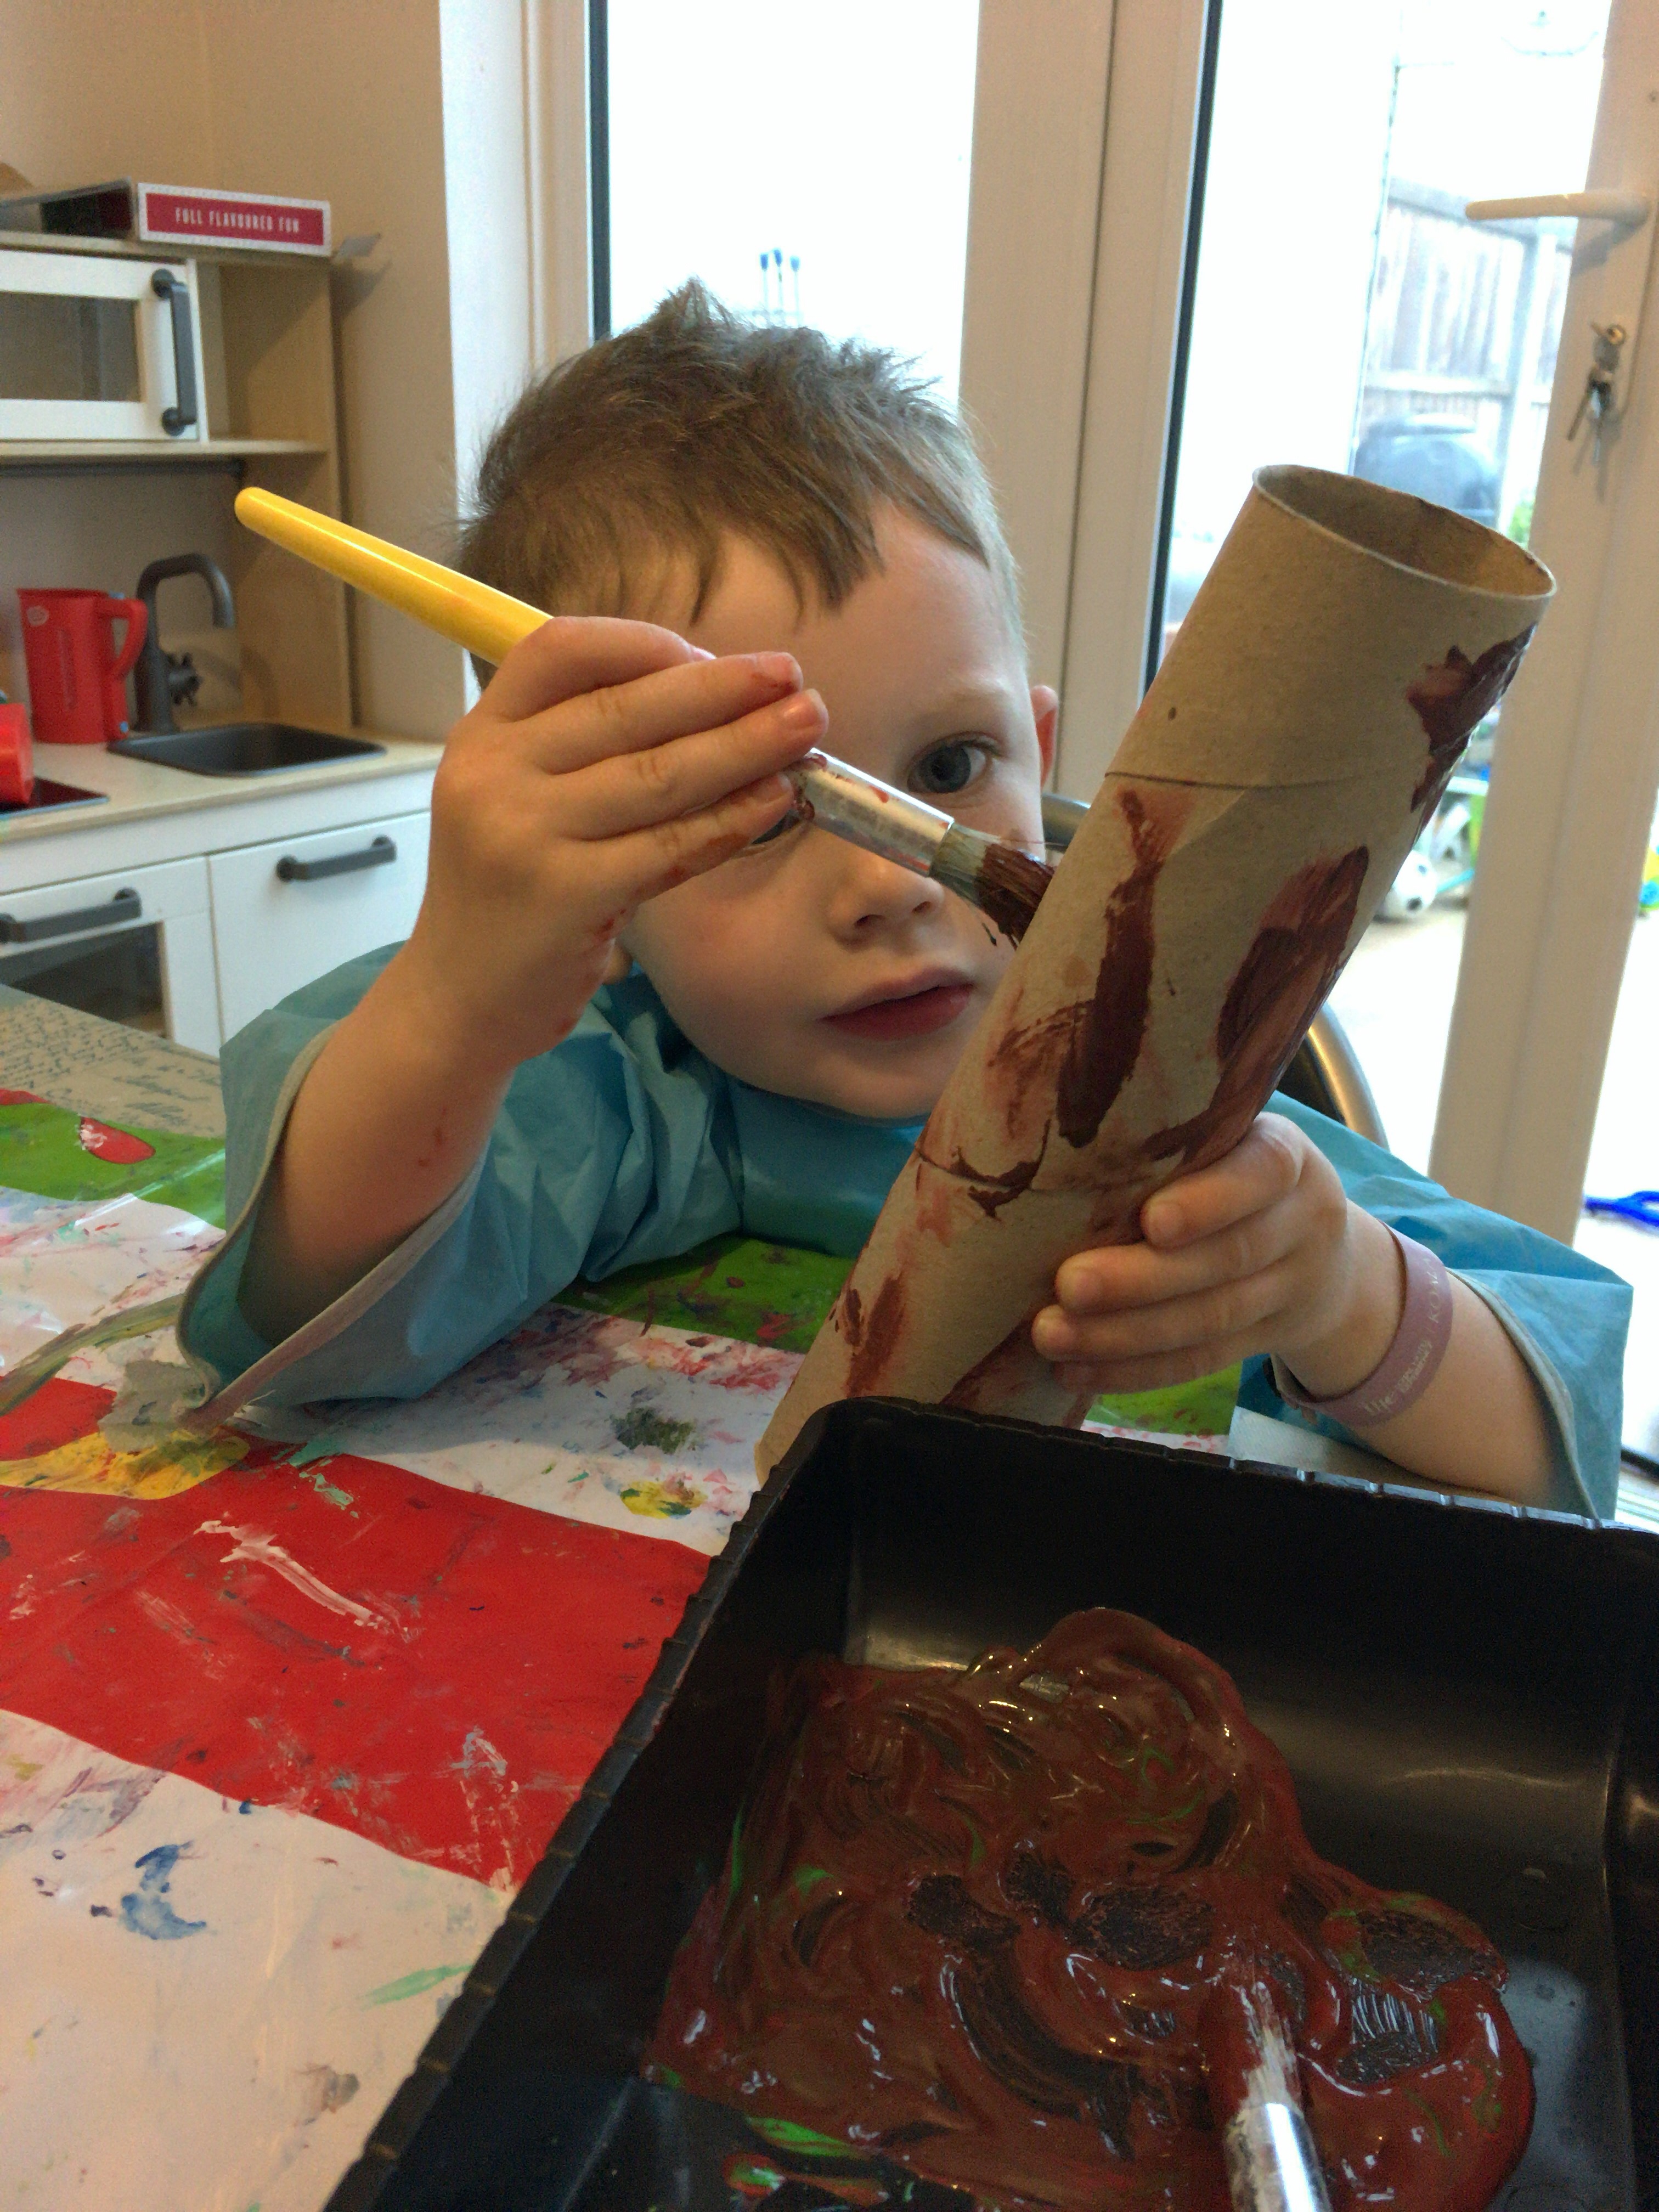
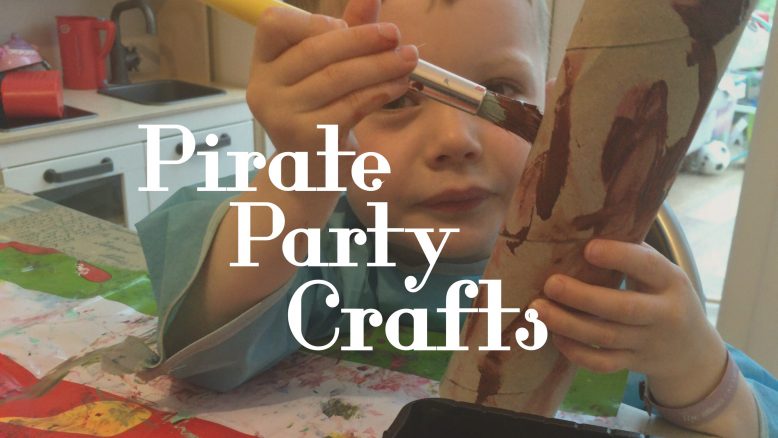
Painting the telescopes.
Pirate Treasure Maps
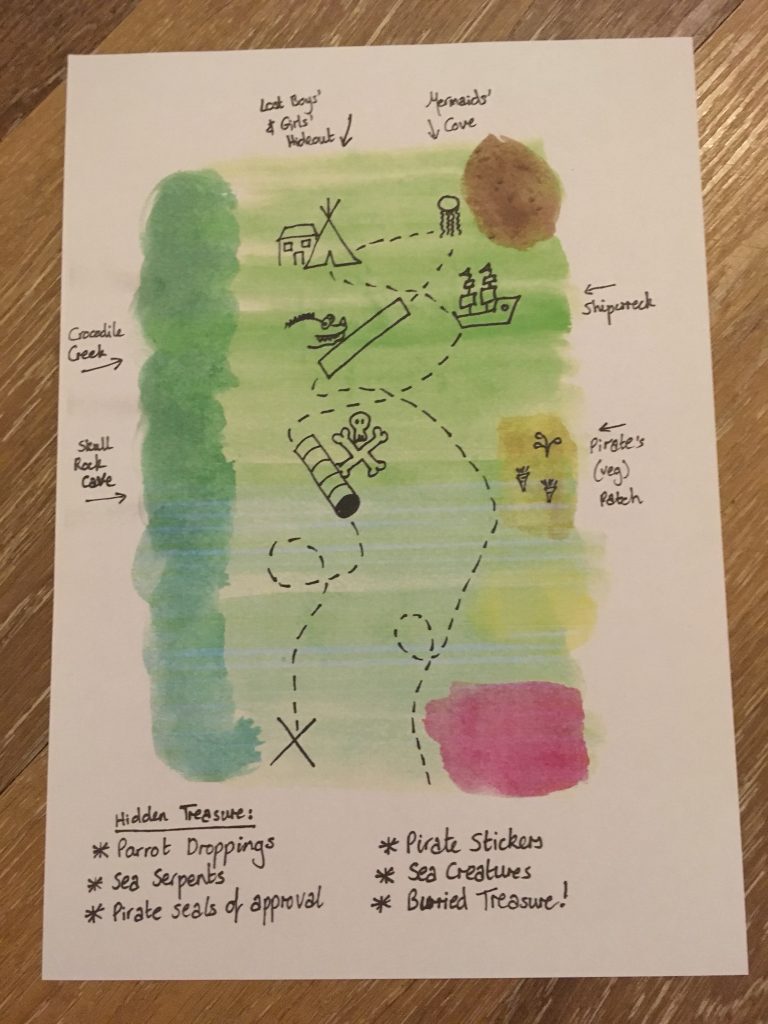
Something that Mr Lighty and I made, rather than Baby Lighty, was the pirate treasure maps. We simply used a watercolour wash to paint an overview of our garden. Then, once this was dry, I added detail over the top using a fine liner pen. Rather than having to do this twelve times over so that there was enough for one per child, we then scanned this into the computer and printed twelve copies.
I then rolled each map up, and tied a ribbon around each one, before popping them in a hamper basket on our welcome table.
Jellyfish
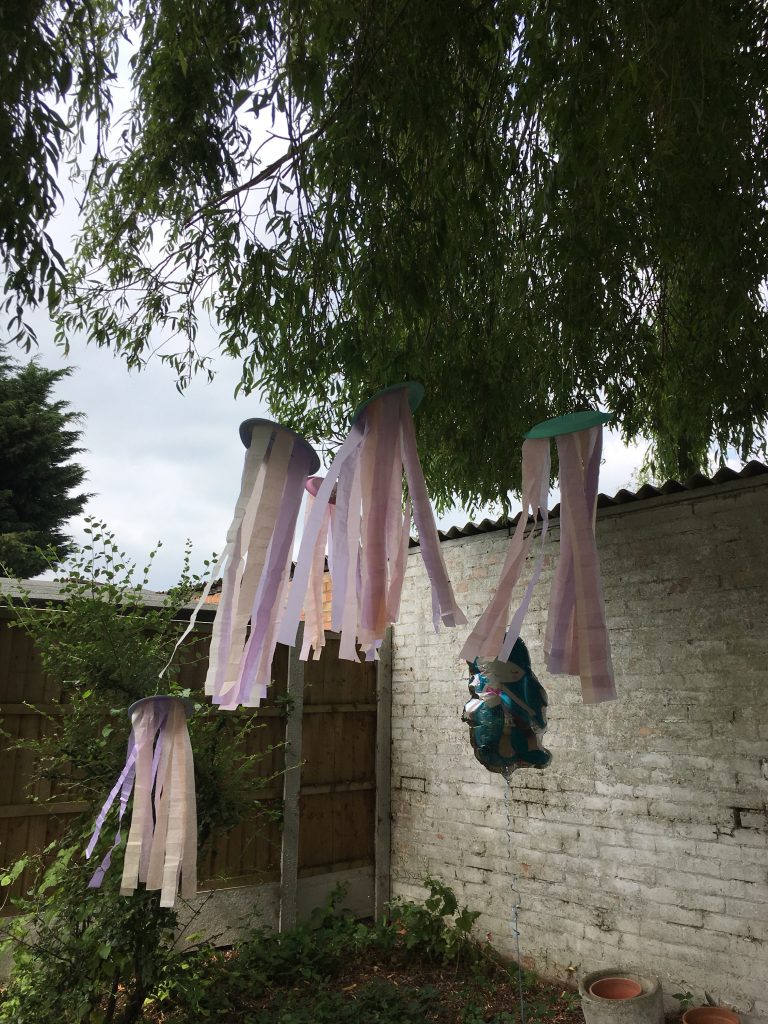
Paper plate jellyfish work well for any party which has a vague sea theme! Again, another really simple craft: simply paint a few paper plates in the colours of your choice. We chose pretty pastel colours. Then, once dry, cut long strips of tissue paper, concertina the strips slightly, and glue to the underside of the plates as jellyfish legs.
Finally, add a length of string to them so that you can hang them up as required. We have a large willow tree at the end of our garden which I adore, and so we hung them from this, to wave about in the breeze!
Pirate Party Bags
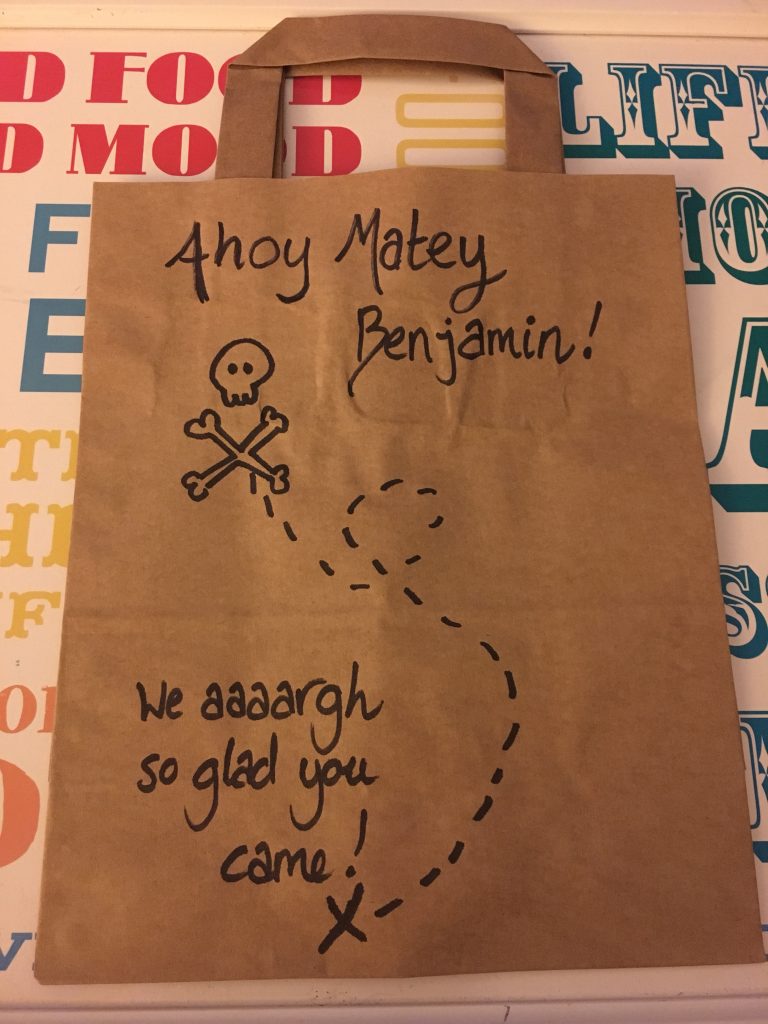
A really easy aspect of the party crafts were the party bags. I bought some brown paper lunch bags, and then drew a treasure map design on them with a felt tip pen. Each one was personalised with the child’s name, and the phrase “Ahoy Matey [child’s name]…we arrrgh so glad you came!”.
Pirate’s Ball Toss
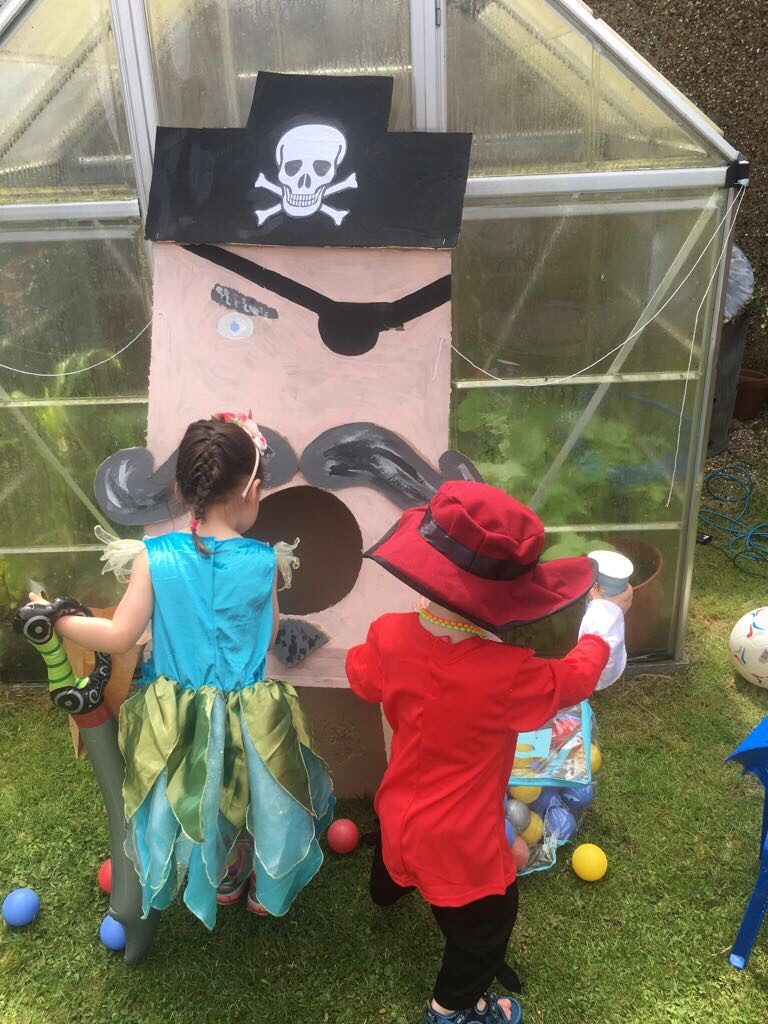
We used a lot of upcycled leftover cardboard in the making of this party! Mr Light made was a large pirate’s face cut out from some large pieces of cardboard which we may have been cheeky enough to ask our neighbours if we could have when they had a new kitchen installed and it was all piled up on their driveway. It was a really simple make, and just required some drawing skills on his part, but we did struggle to keep it upright! Mr Lighty added a cardboard base around the back and bottom of the face, and on the day of the party, we attached it with string to our (plastic!) greenhouse. Then it was just a case of getting the ball pit balls out for the children to play ball toss with!
Signage
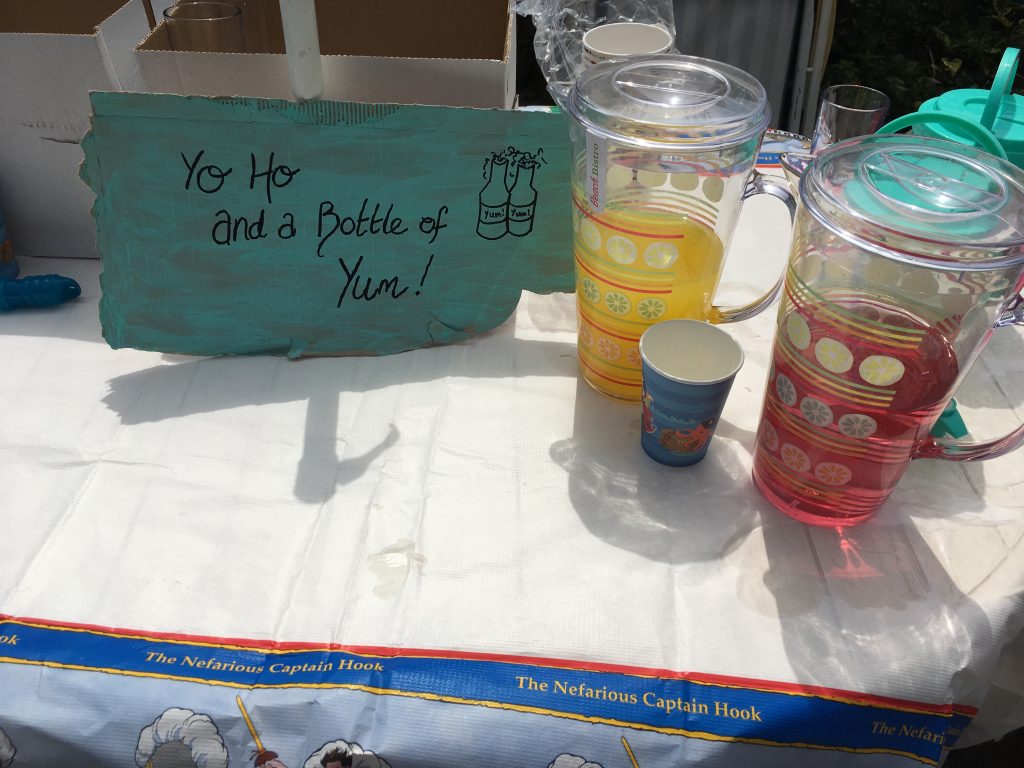
We created a lot of signs for our pirate party. Something that I loved was the fact that you don’t have to be the best crafter in the world for a pirate party, as everything can look slightly ragged and rustic. Perfect for a slapdash crafter like Mrs Lighty! For the signs, we literally just tore off a piece of cardboard as large as we needed, painted them in the pastel paints we used throughout, and then wrote on them with permanent marker pens.
Shipwreck
This was a big make that we created for the party. We had a new oven delivered a few weeks before the party, and used the cardboard lid and base that the oven was delivered in to create a v-shape, like a ship’s helm. We cut out a porthole, then, once taped together, we set about painting it with a small decorating roller in a deep brown. Once dry, we added the black lines to give the effect of wood detailing.
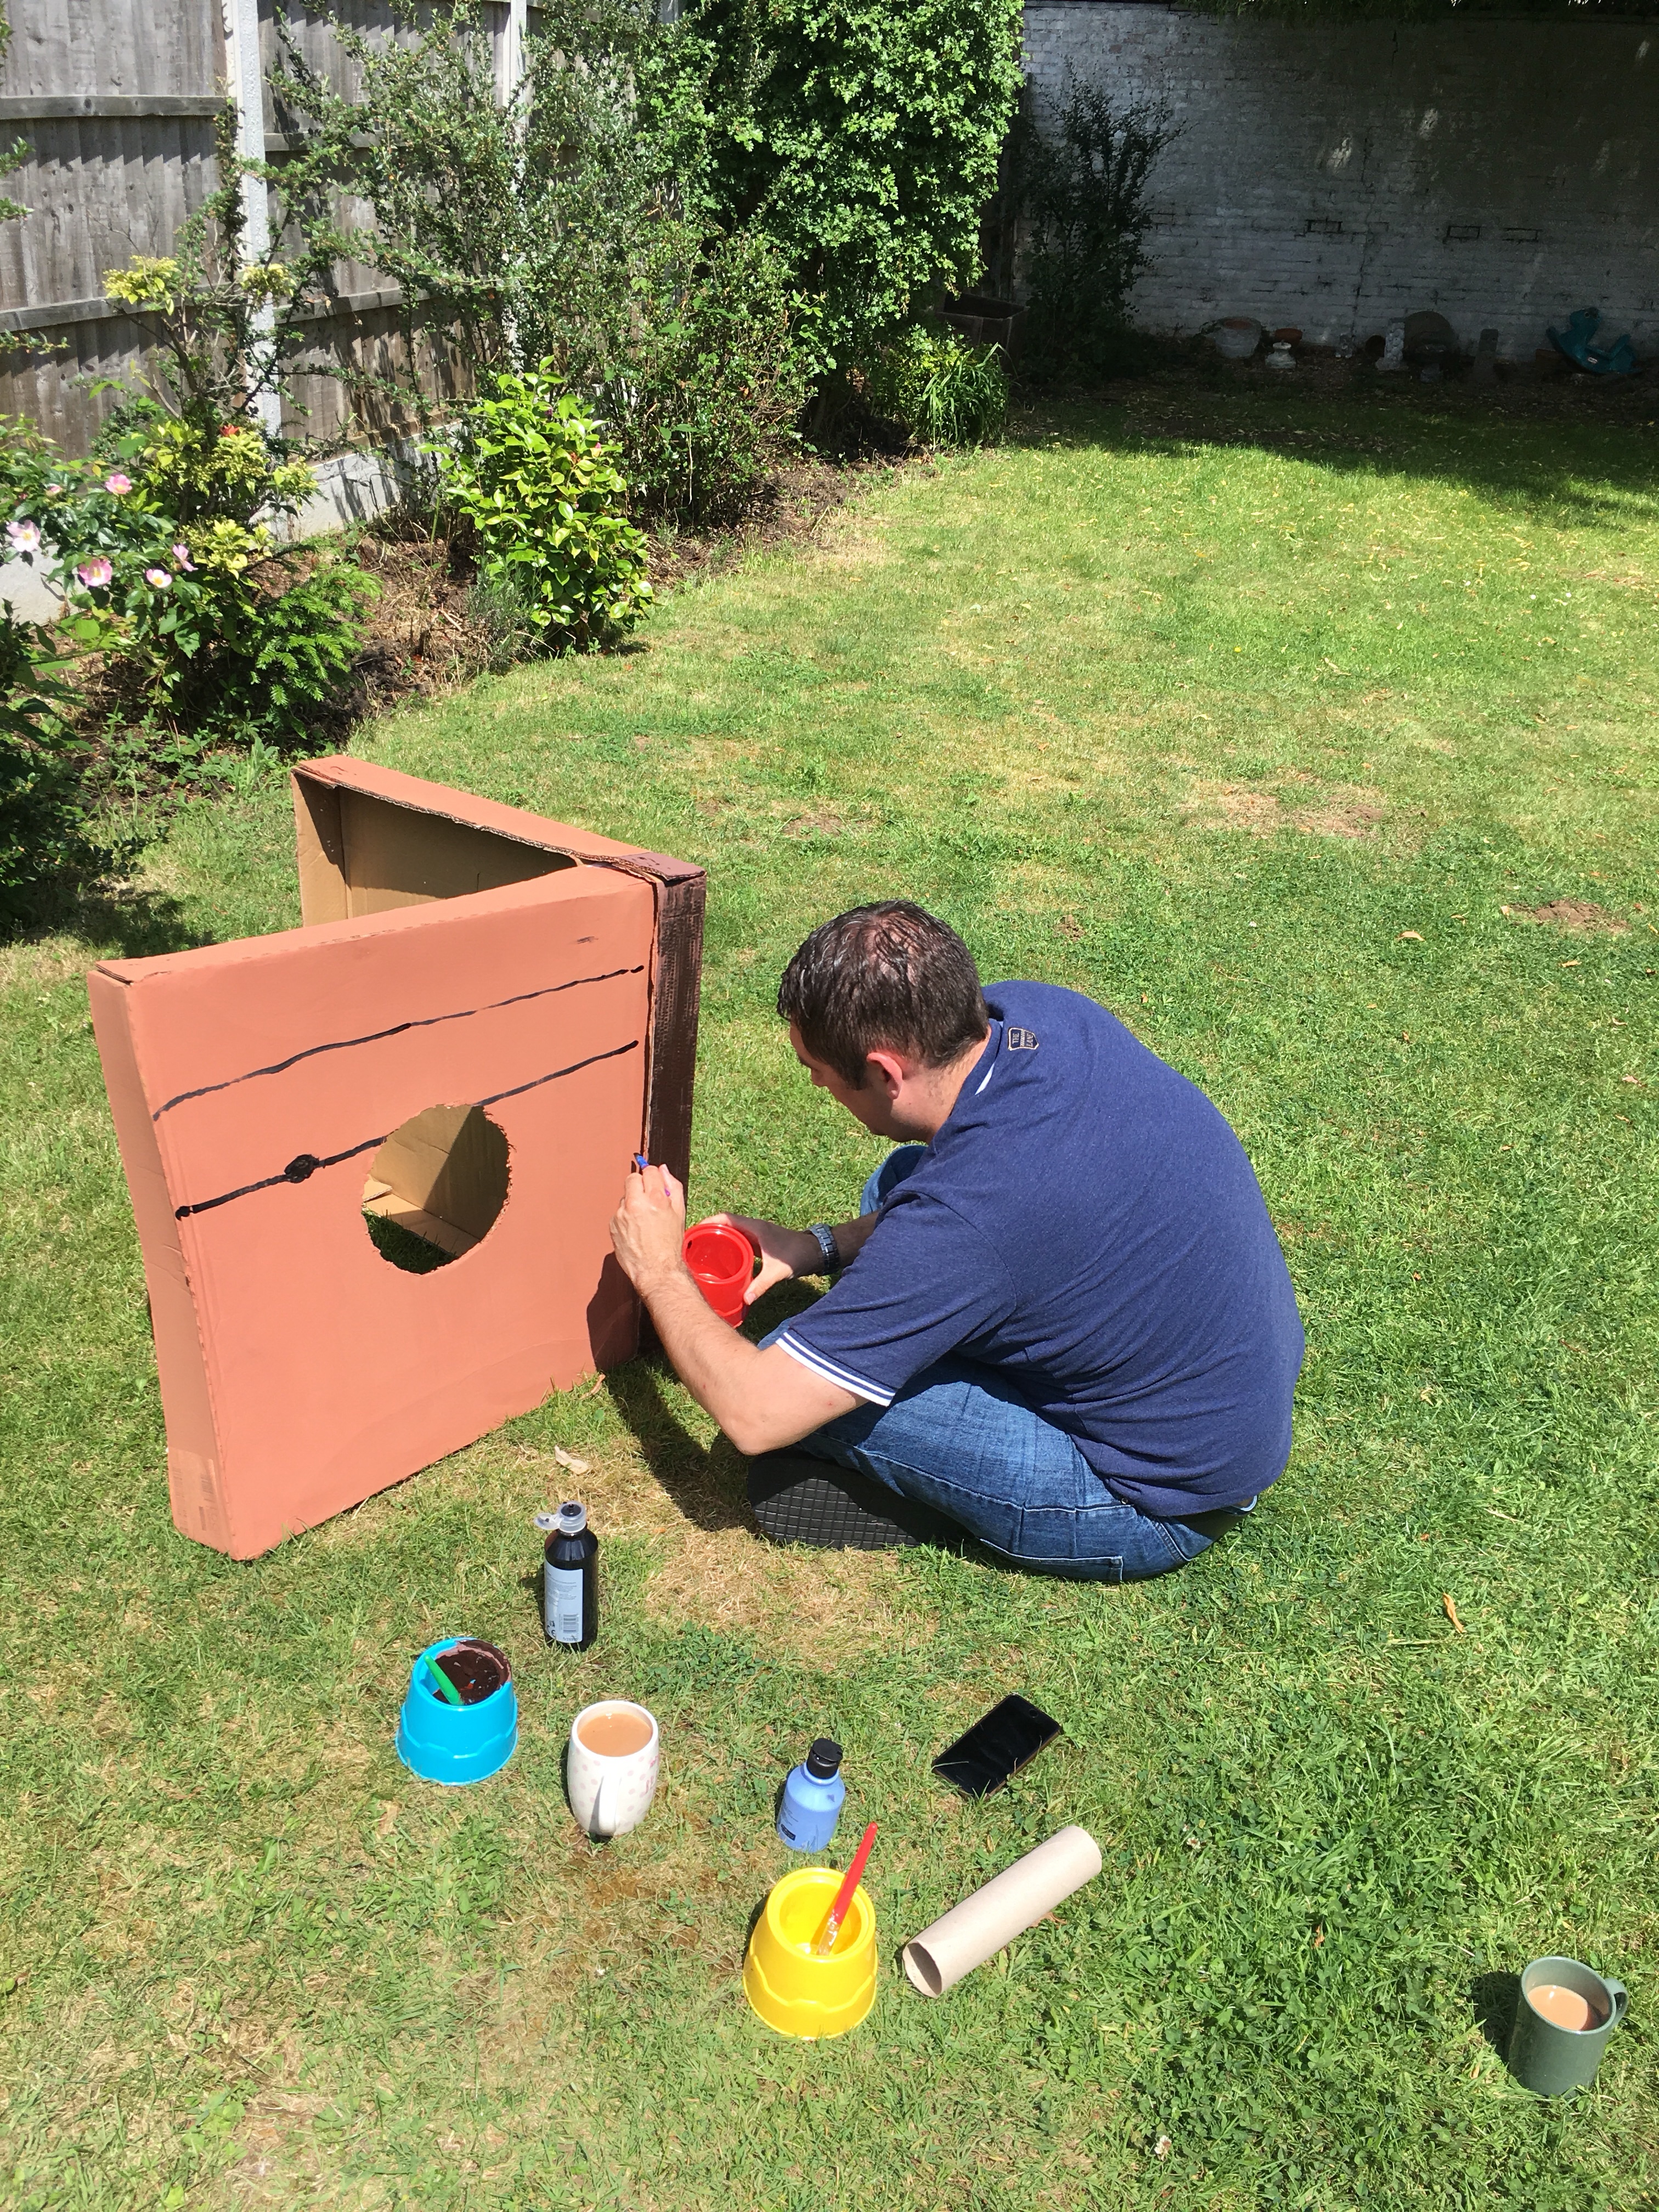
Mr Lighty created a steering wheel by tracing a motif onto some cardboard and cutting it out. He secured this to the boat with a length of dowel (with a bottle top added to one end to stop it from having a sharp point!), so it was actually steerable! Finally, we added some rope around the outside and a tin foil anchor, finishing the final set up with a large Jolly Roger flag behind the boat!
We had so much fun creating a pirate party for Baby Lighty. I really hope he enjoyed it as much as we did.
And of course the question is, what will be our theme next year?!
•••
For All Things Spliced, follow The Lightys on Facebook, Twitter and Instagram!
