With temperatures hitting the high twenties in the UK this week (hurrah!), I thought it was high time Baby Lighty and I ticked another thing off of our pre-preschool wishlist. Baby Lighty loves baking, but it’s a bit of a ‘hot’ activity to do in the summer months. We therefore decided to take some inspiration from our friends at Baby Led Weaning for Busy Parents and try our hand at making ice lollies!
This turned out to be a great toddler activity. It’s sensory in terms of touch, feel and taste, and good for coordination too. Here’s what we did to make our ice lollies:
Toddler-Friendly, Healthy Ice Lollies
You will need:
- Your choice of yoghurt. Using an unsweetened variety will make this a healthier option still.
- Berries of your choice.
- One ripe banana.
- Lolly moulds.
Method:
1. Chop the berries into small pieces. We used strawberries, simply because they are a firm favourite with all the family and we had them available to us on the day.
Baby Lighty has been requesting a knife at dinner time for a few months now, and I’ve been reluctant to give him one because of the obvious dangers (and the fact that he just mucks around with it rather than actually eating his dinner!). This was a good practice exercise therefore. I gave him a child-sized table knife which wasn’t sharp and deliberately chose overripe fruit, partly to use it up and partly because it would make it easier for Baby Lighty to cut. Obviously you do need to supervise your toddler carefully whilst they are using any knife, but I found this a good exercise in coordination and using a knife safely.
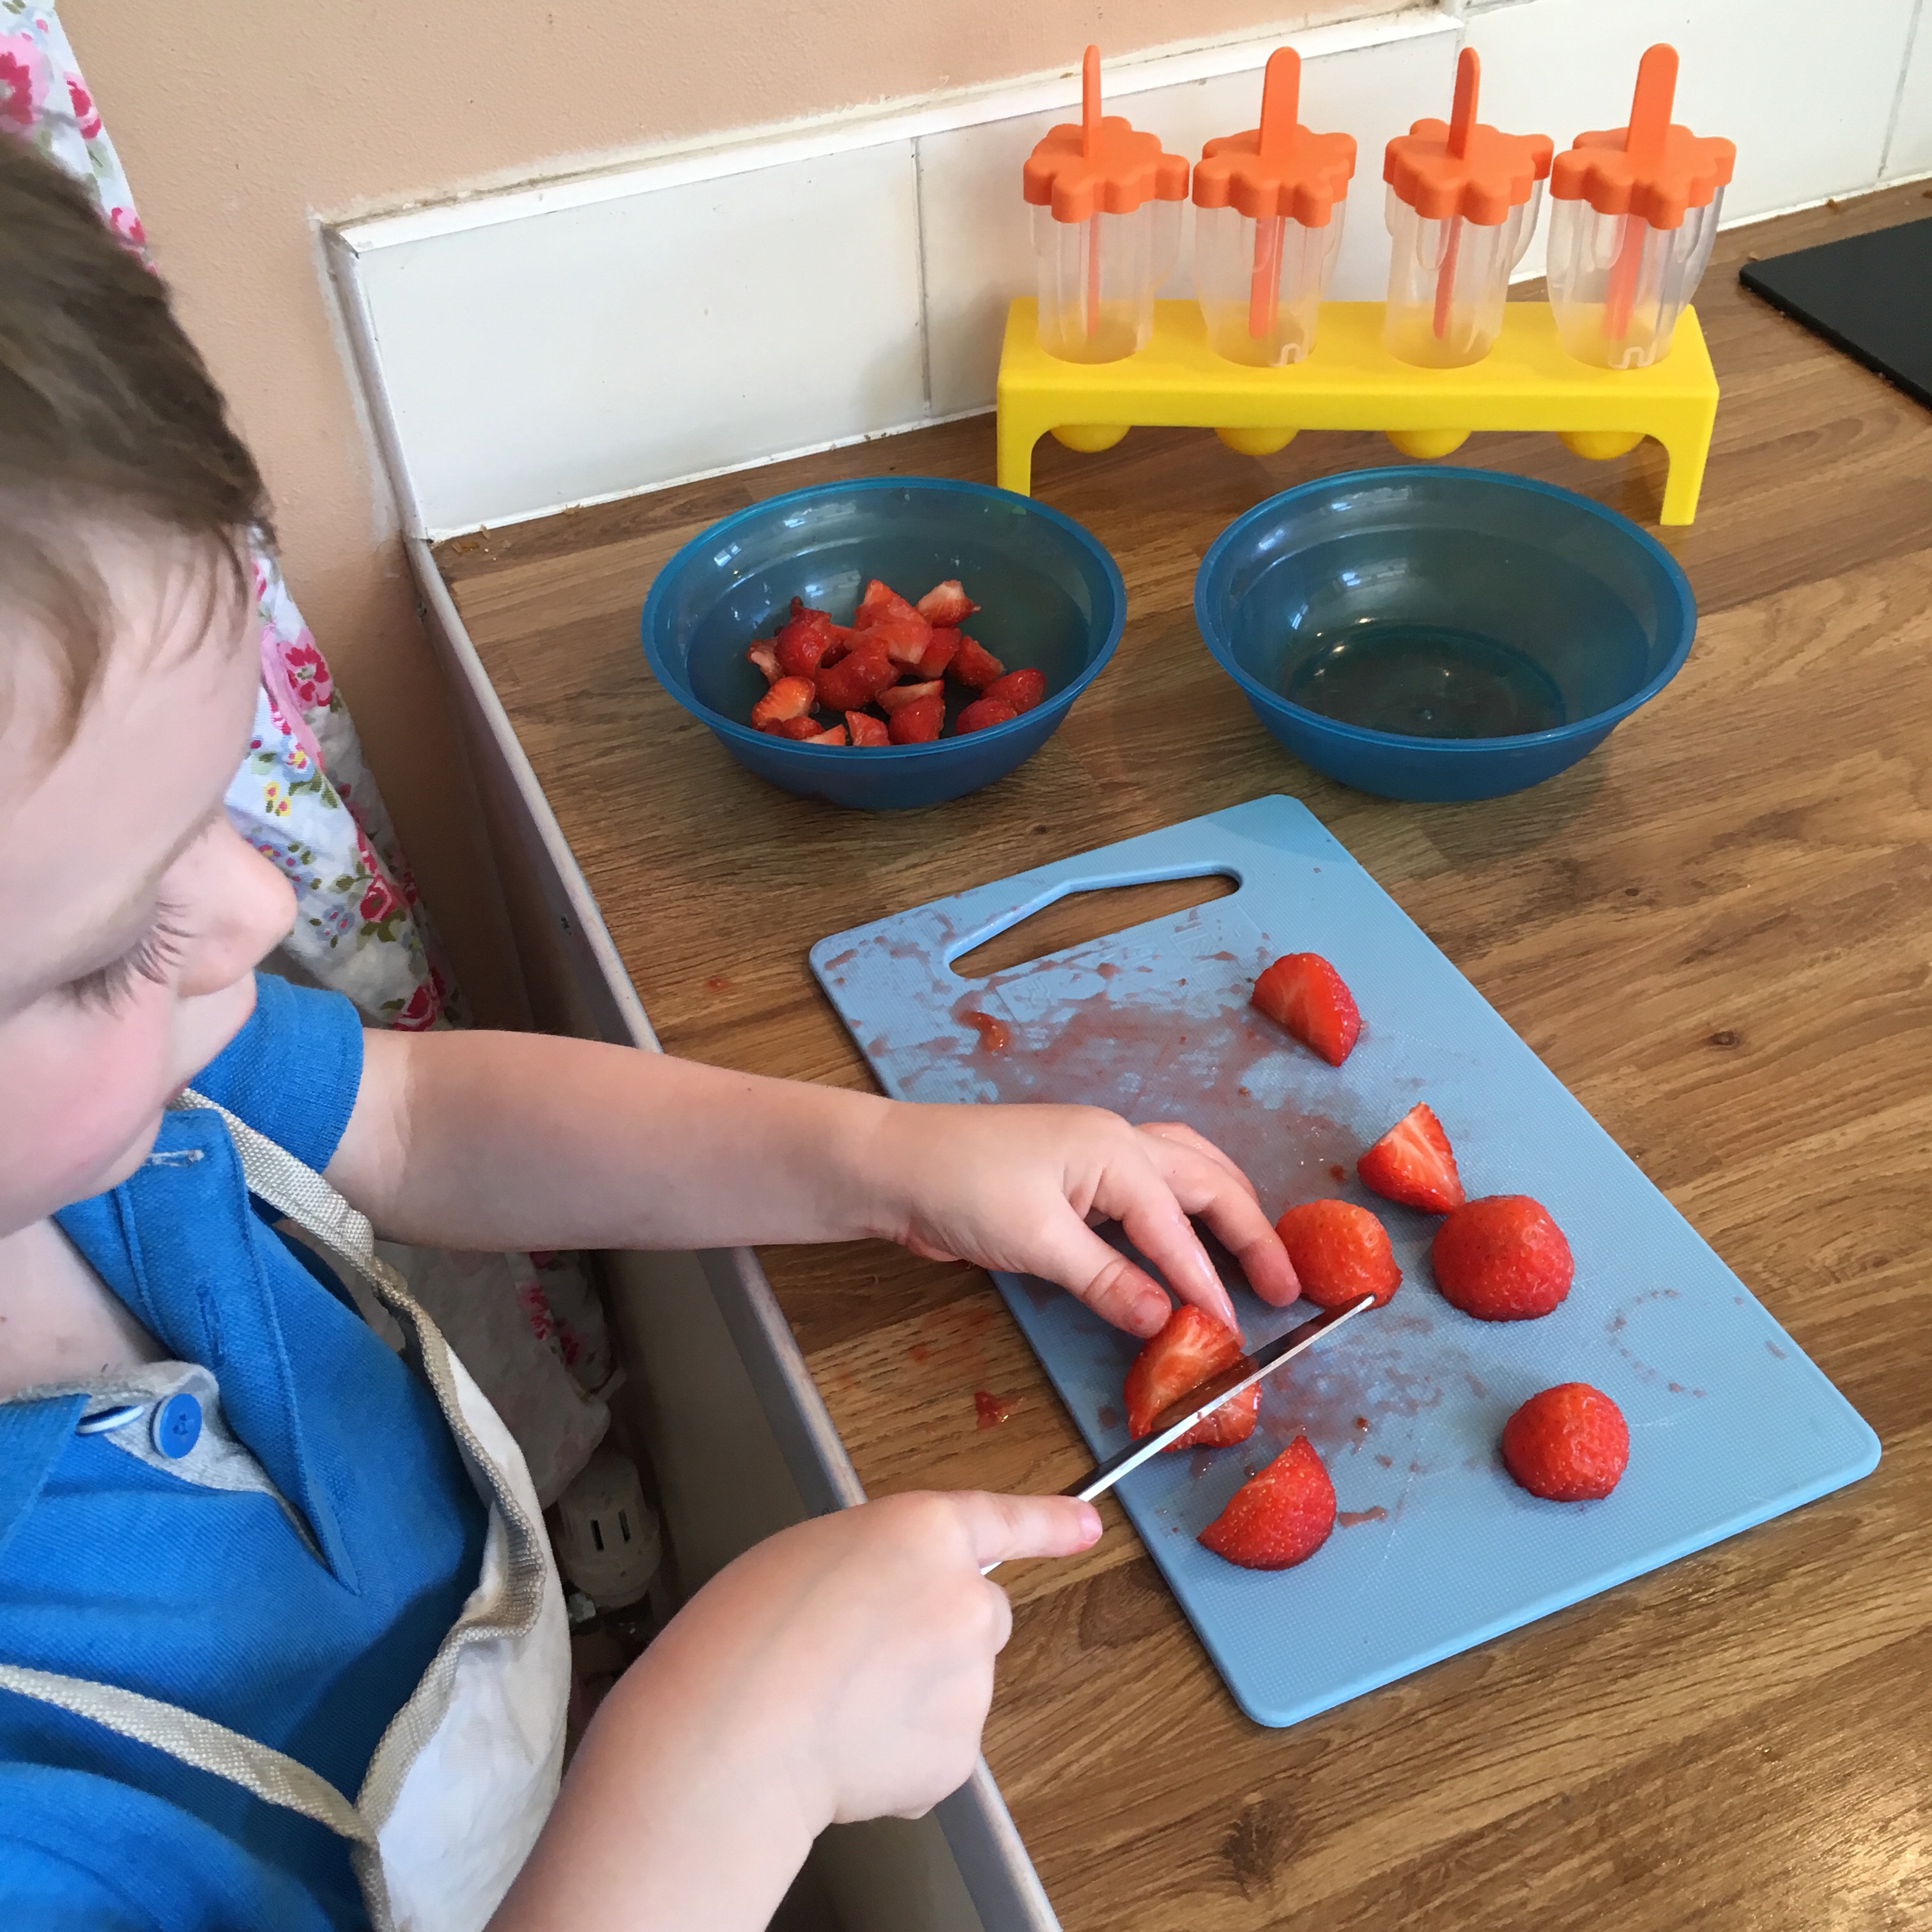
Whilst we were cutting, I did fall for the age old trick though whereby he said to me, “Mummy, look at that in the sink!” and while my back was turned, I heard some little giggles, only to turn back and discover that Baby Lighty had declared himself chief taster and was shovelling strawberries into his mouth!! I did have to laugh at both his cheekiness and intelligence!!
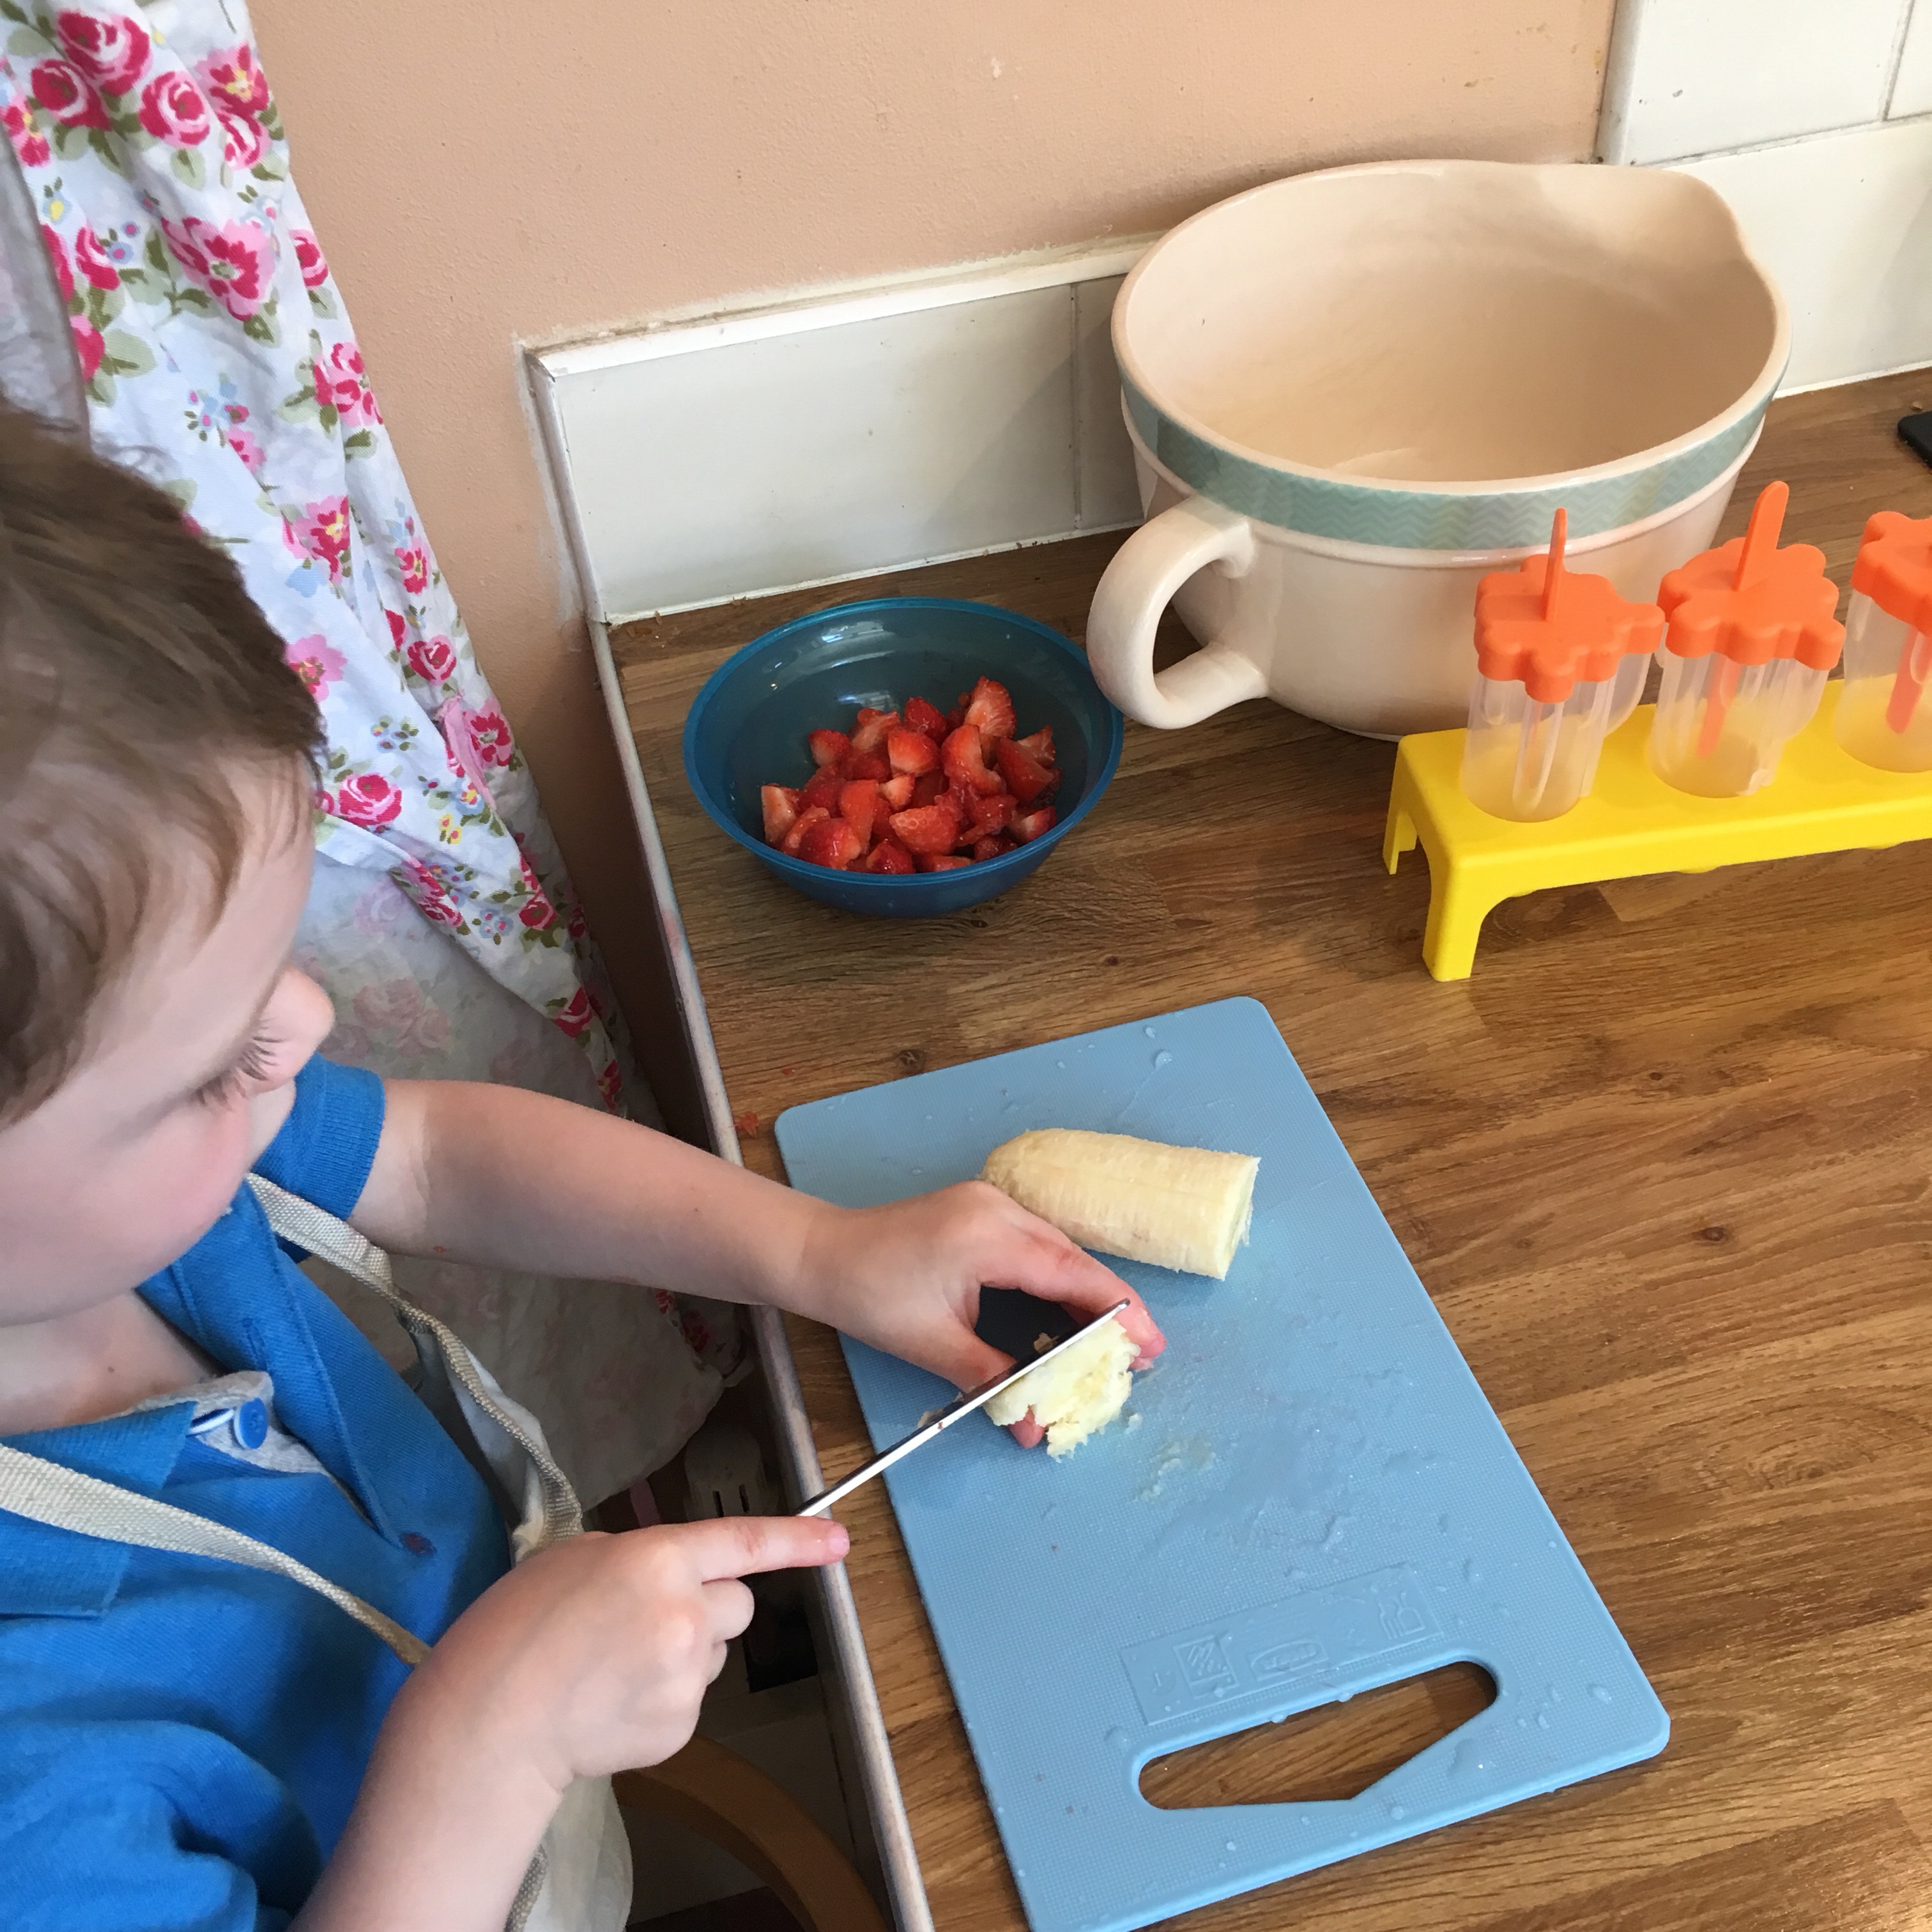
2. Chop the banana. Once chopped, mush it in a bowl slightly. Again, Baby Lighty got stuck into this and I was surprised how well he did it!
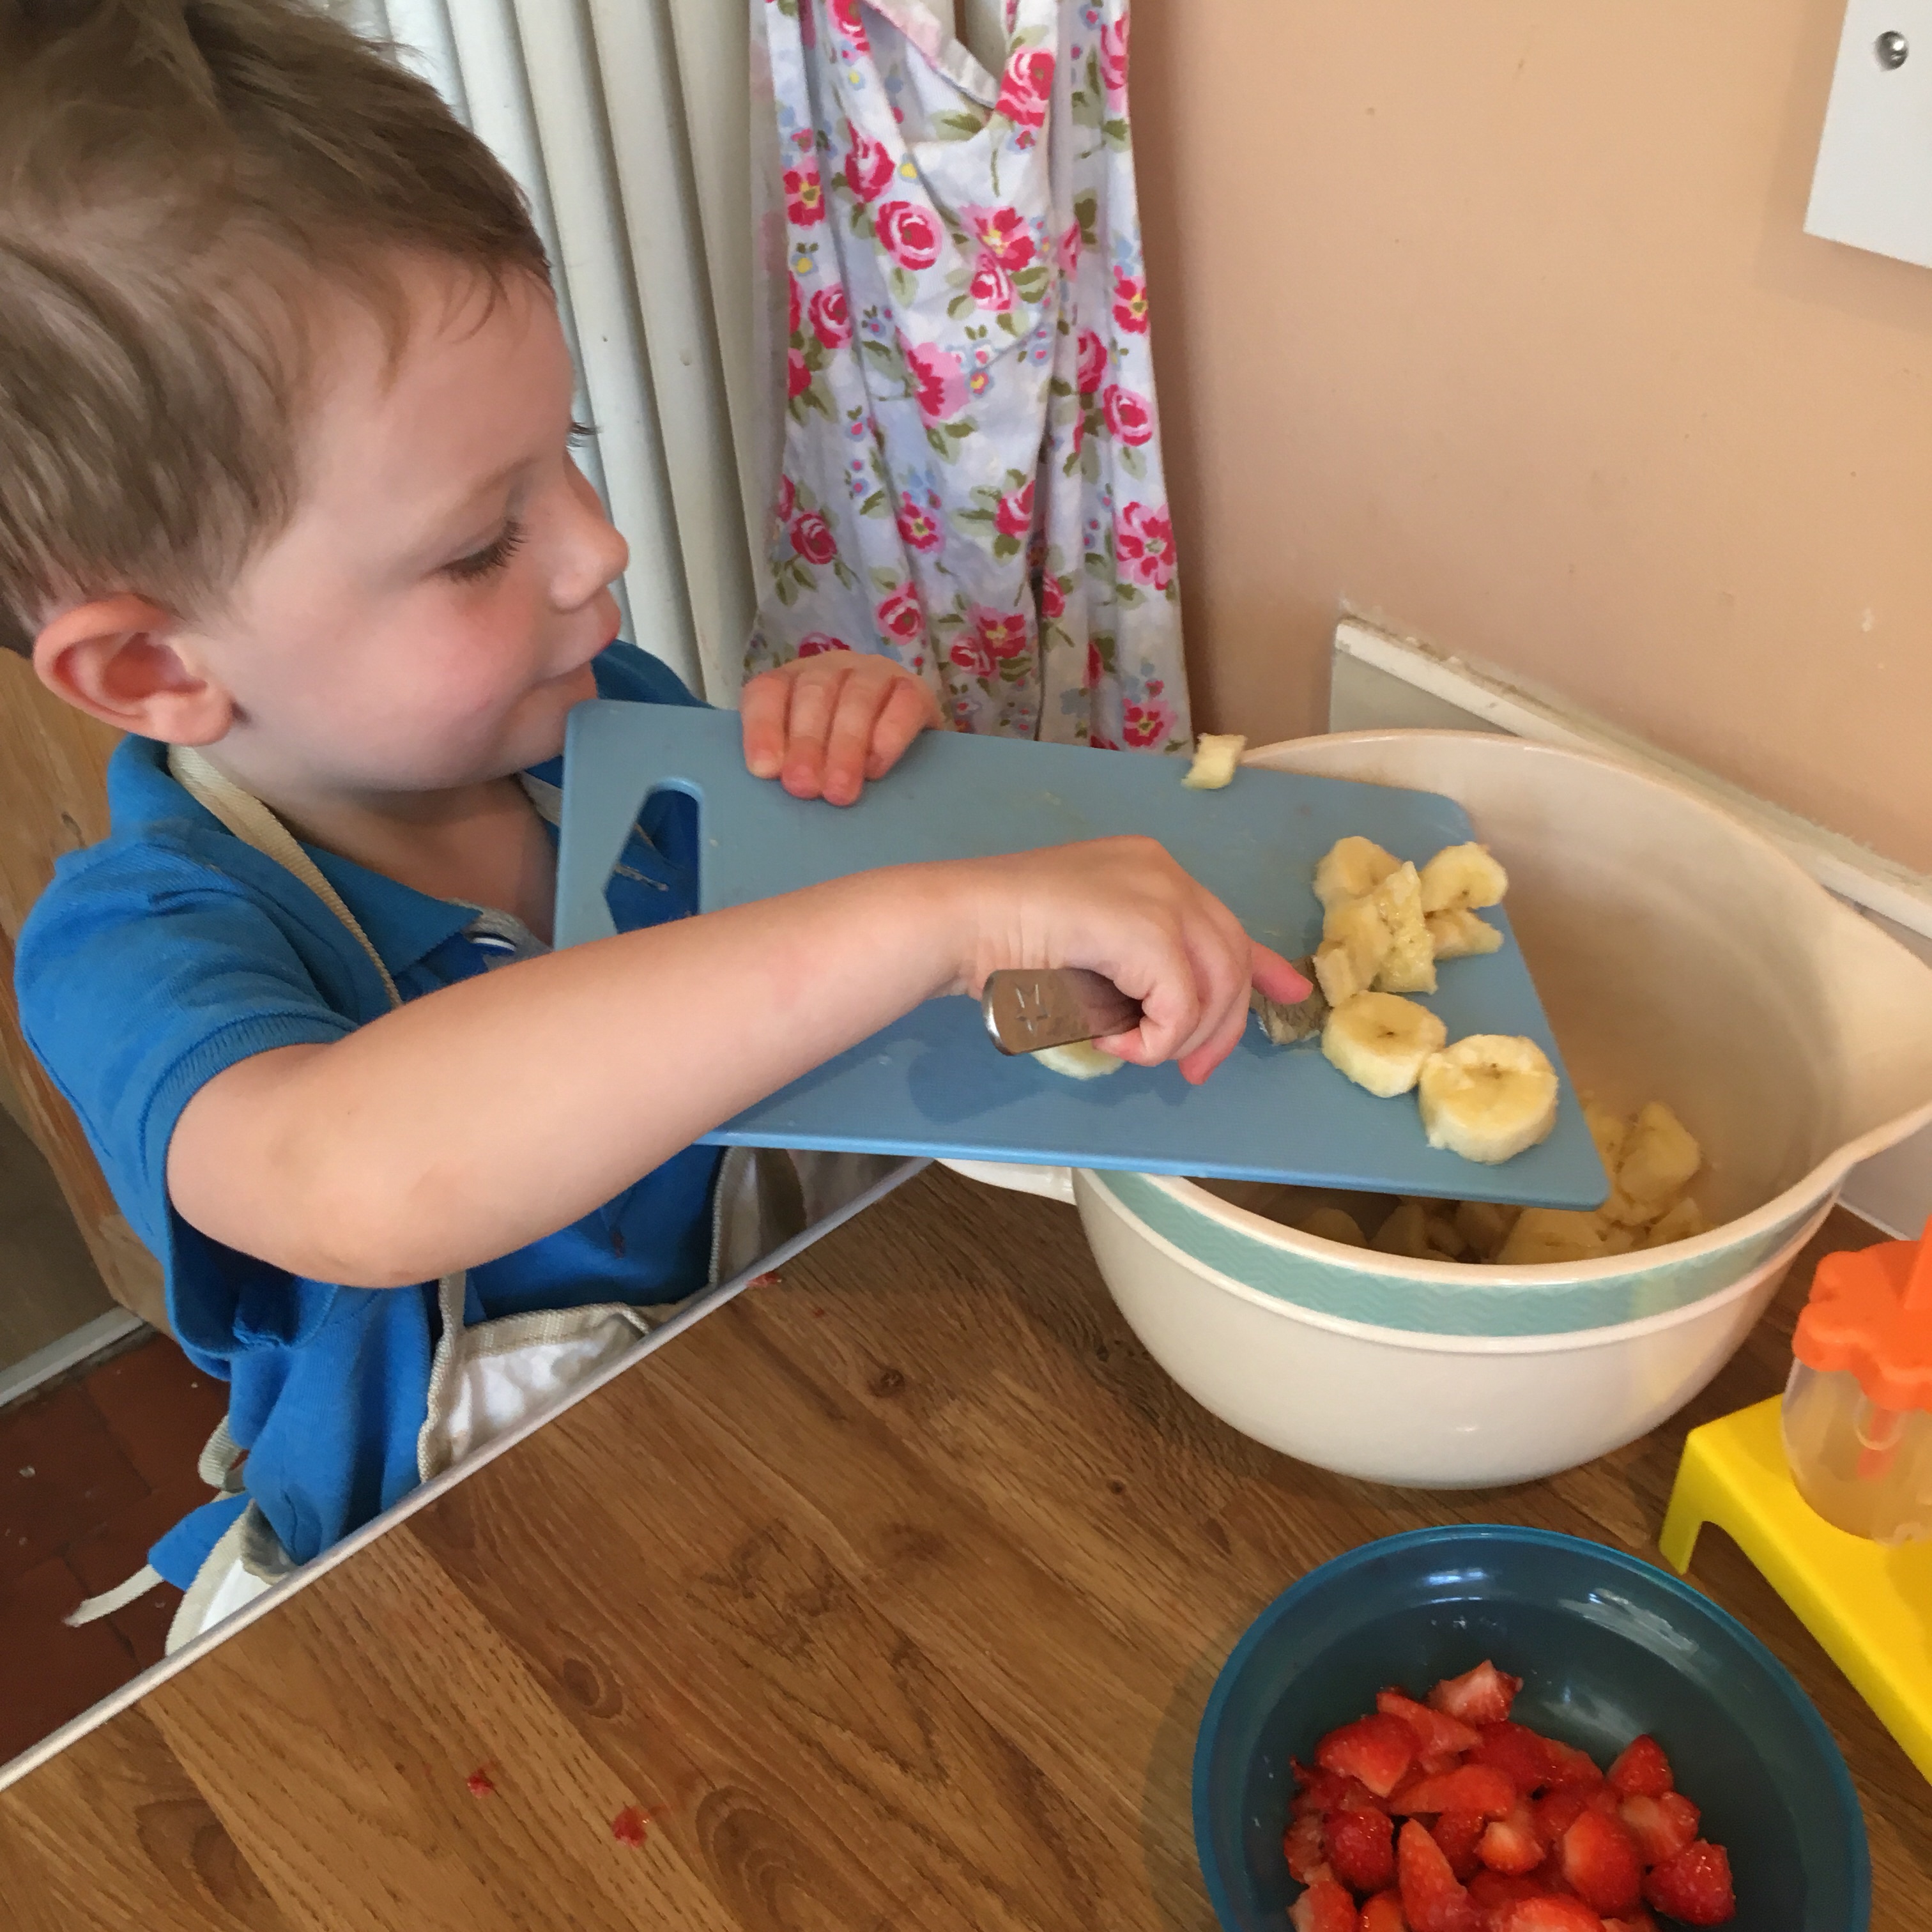
3. Spoon or squeeze some yoghurt into ice lolly moulds. Using squeezy yoghurt pouches is probably the less messy of the two options! Then continue to layer berries, banana and yoghurt until the mould is full.
4. Freeze!!!!! We made the lollies at lunchtime and they were ready by dinner time.
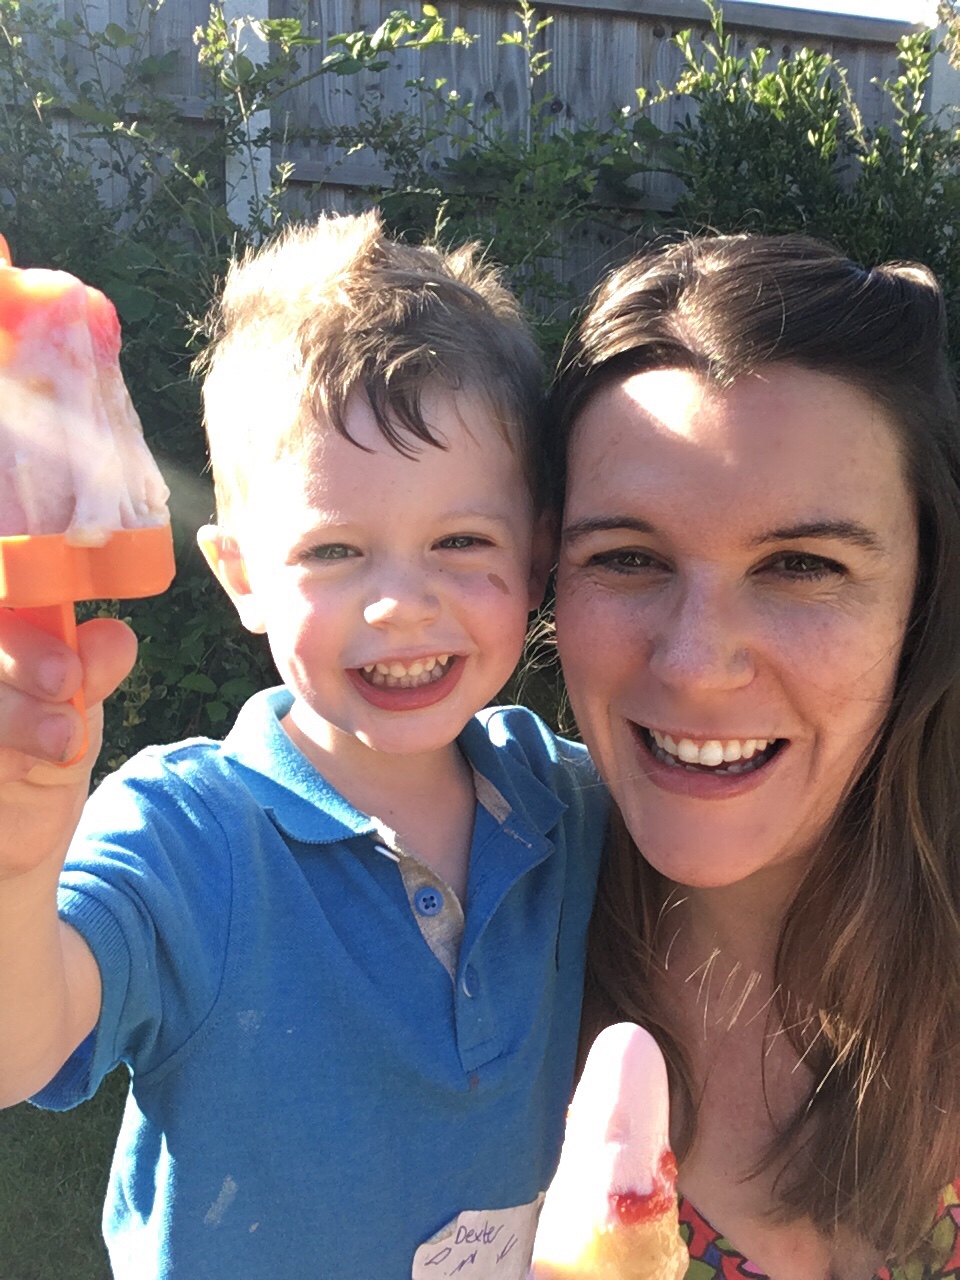
I was really pleased that we gave homemade ice lollies a go. It turned out to be a really simple activity which was great for the senses of smell, touch and taste, as well as hand-eye coordination.
If you’ve got any tried and tested homemade ice lolly recipes, I’d love to hear them!
This recipe is adapted from Baby Led Weaning for Busy Parents’ Instagram post below:
•••
For All Things Spliced, follow The Lightys on Facebook, Twitter and Instagram!
